

An epoxy table pairs a wood slab with a resin fill — most famously the river table, where a band of tinted resin runs between two live-edge boards. A typical coffee table measures about 120 by 60 centimetres, while a dining version runs to 200 centimetres or more, and the resin section alone can be 10 to 30 centimetres wide. The first decision is the resin type: thin table-top epoxy for coatings, or deep-pour epoxy for thick fills.
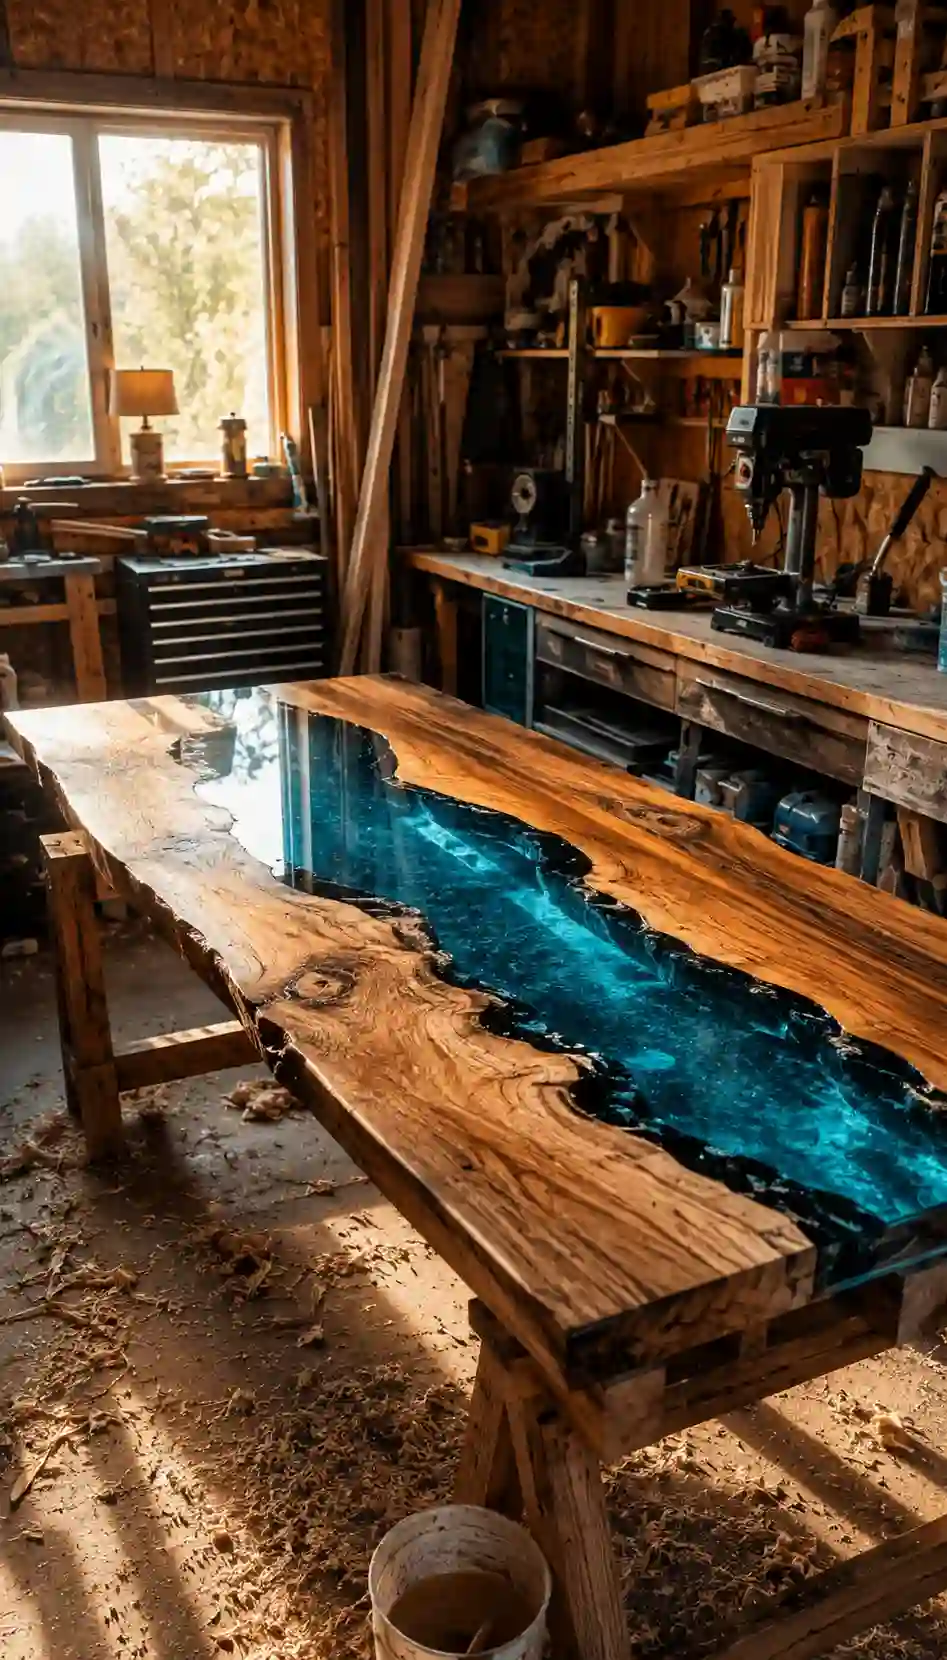
Budget and time vary just as much. A beginner kit for a small side table costs roughly £150 to £300 and takes a weekend plus a week of curing; a commissioned river dining table can pass £3,000 and take several weeks. Before buying anything, settle the size, the wood and whether the table will live indoors or outdoors, because each choice changes the resin you need.
Which epoxy table styles work best in a living room?
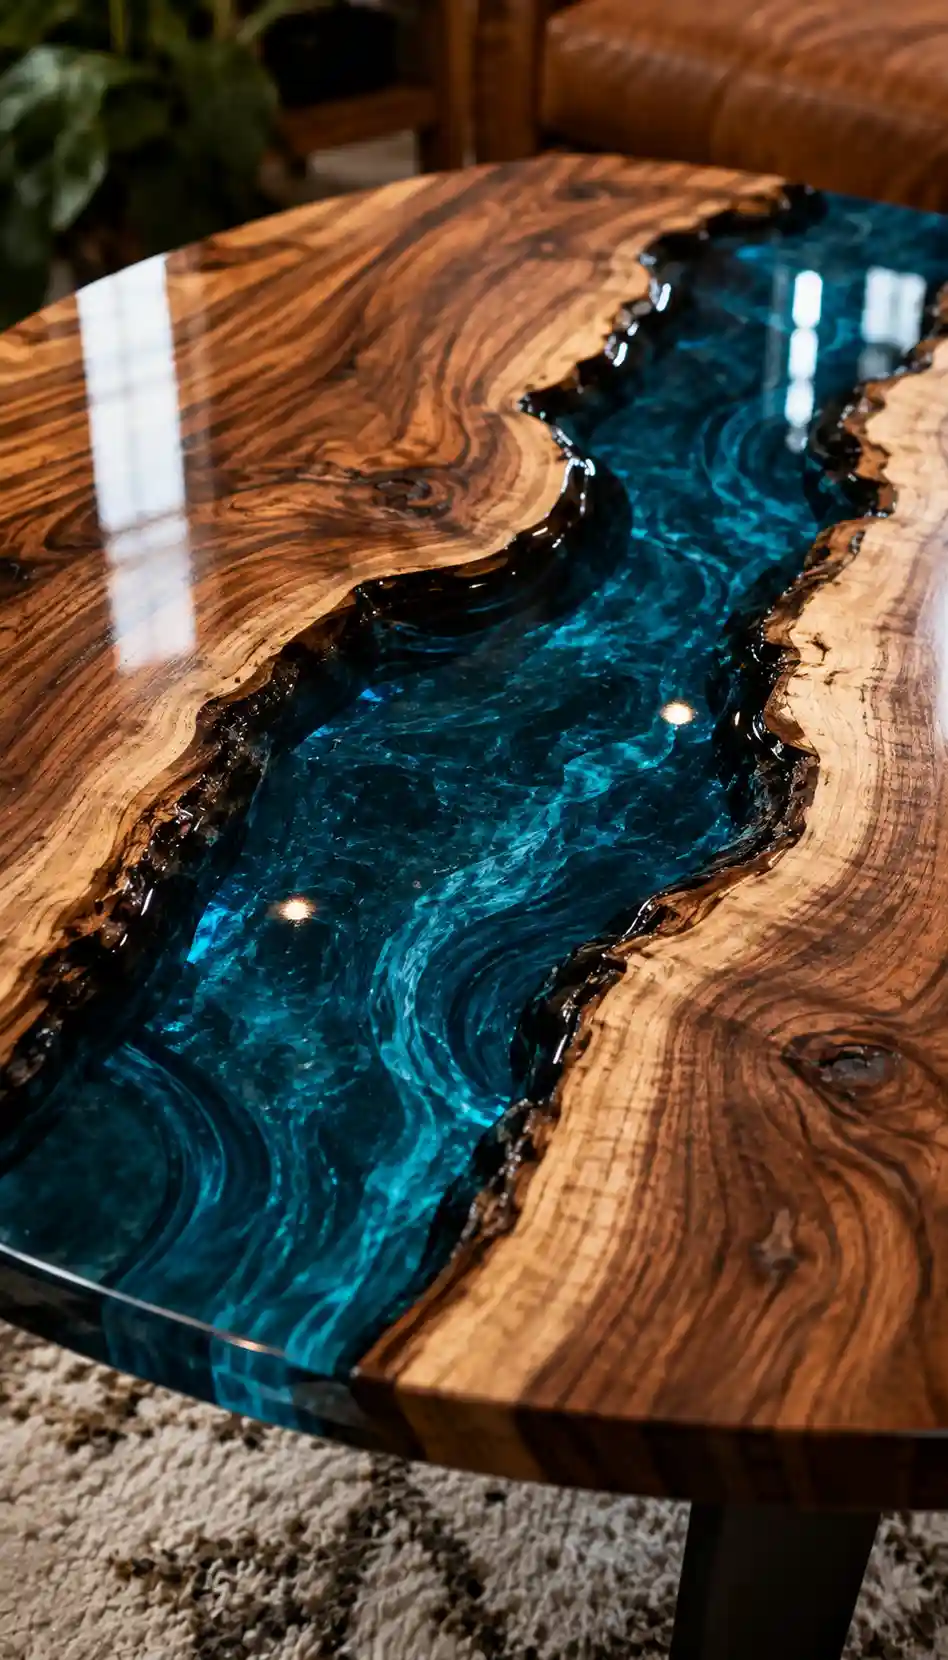
A river coffee table remains the most popular living-room choice, and for good reason: two live-edge slabs with a blue or turquoise resin river between them read as a landscape, not just furniture, and the photo of the blue river table above shows how the colour carries the whole room. Ocean-wave side tables work the same way on a smaller scale, layering white-tipped resin over blue to suggest surf, while galaxy tables use dark resin with metallic pigment for a night-sky effect. Keep the rest of the room calm — one statement table is enough — and check the table’s height against the sofa seat, usually within 5 centimetres, so it stays usable rather than purely decorative. For styling what sits on top, see coffee table decor ideas.
What should a dining table get right?
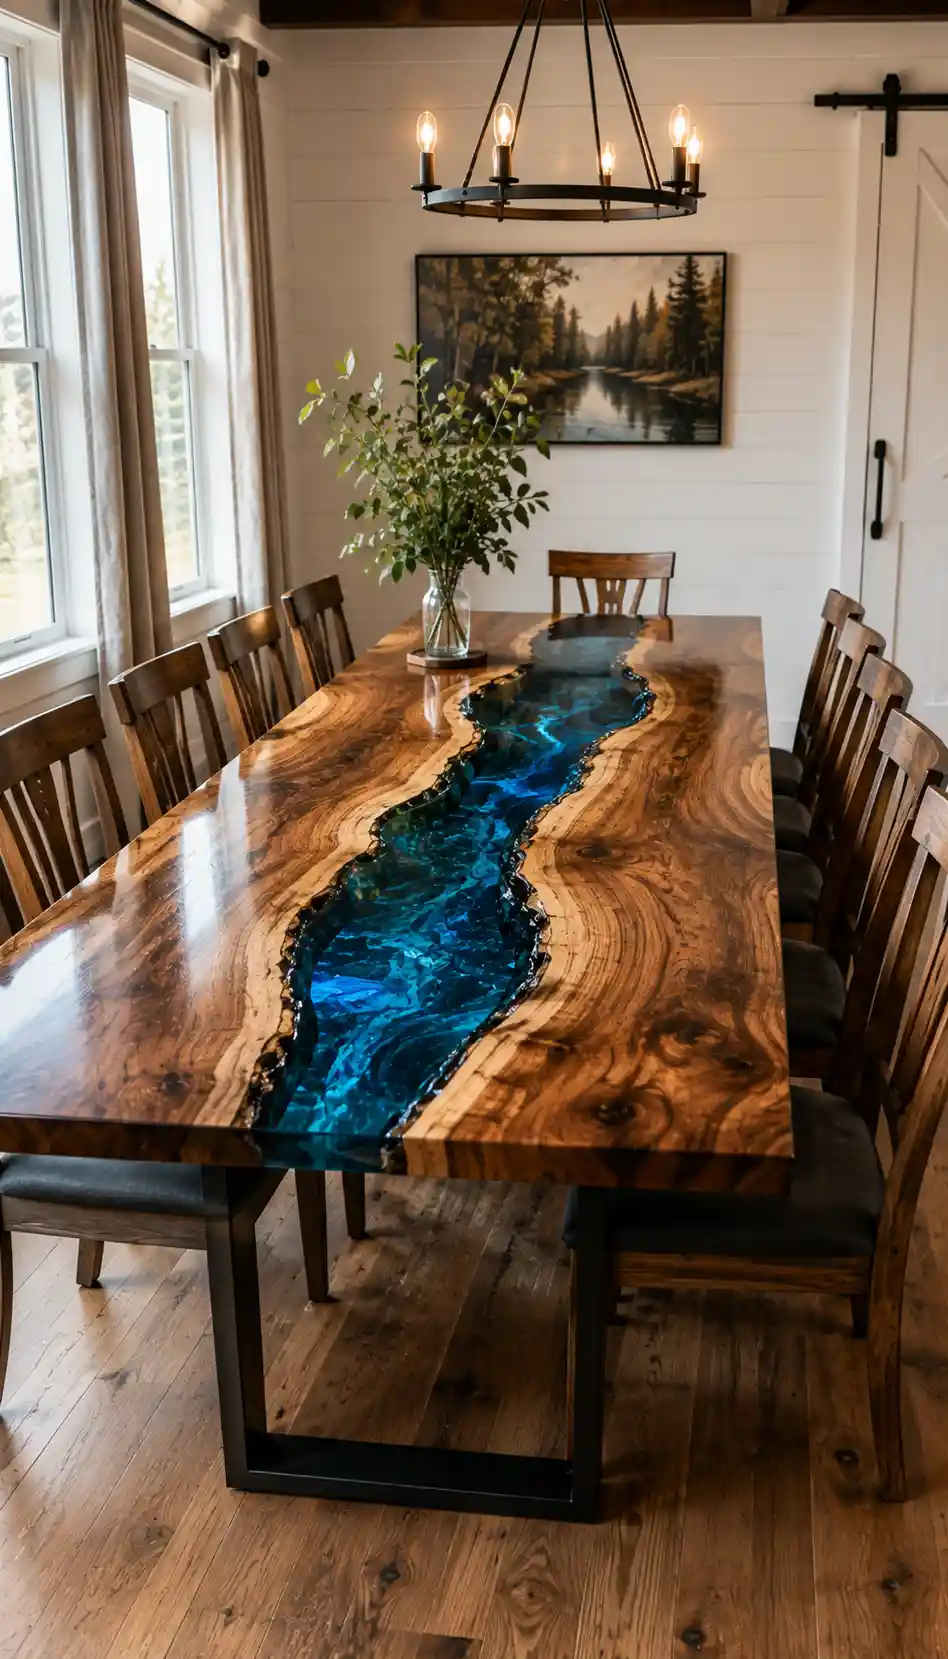
A dining table is a bigger commitment in materials, time and money, so the slab matters more: walnut and oak are the usual choices because their grain stays interesting under clear resin and their structure holds up over a 200-centimetre span. A live-edge slab with a resin river down the centre suits a long room, while a two-tone or geometric pattern suits a more formal setting; reclaimed wood with a clear epoxy coat is the sustainable option, since the resin seals and levels an old surface. Pour in stages — deep sections need layers of around 25 to 50 millimetres — and allow a full week of curing before the table takes daily use. For dressing the finished table, see these table placemat ideas.
How do you fit an epoxy table into a small space?
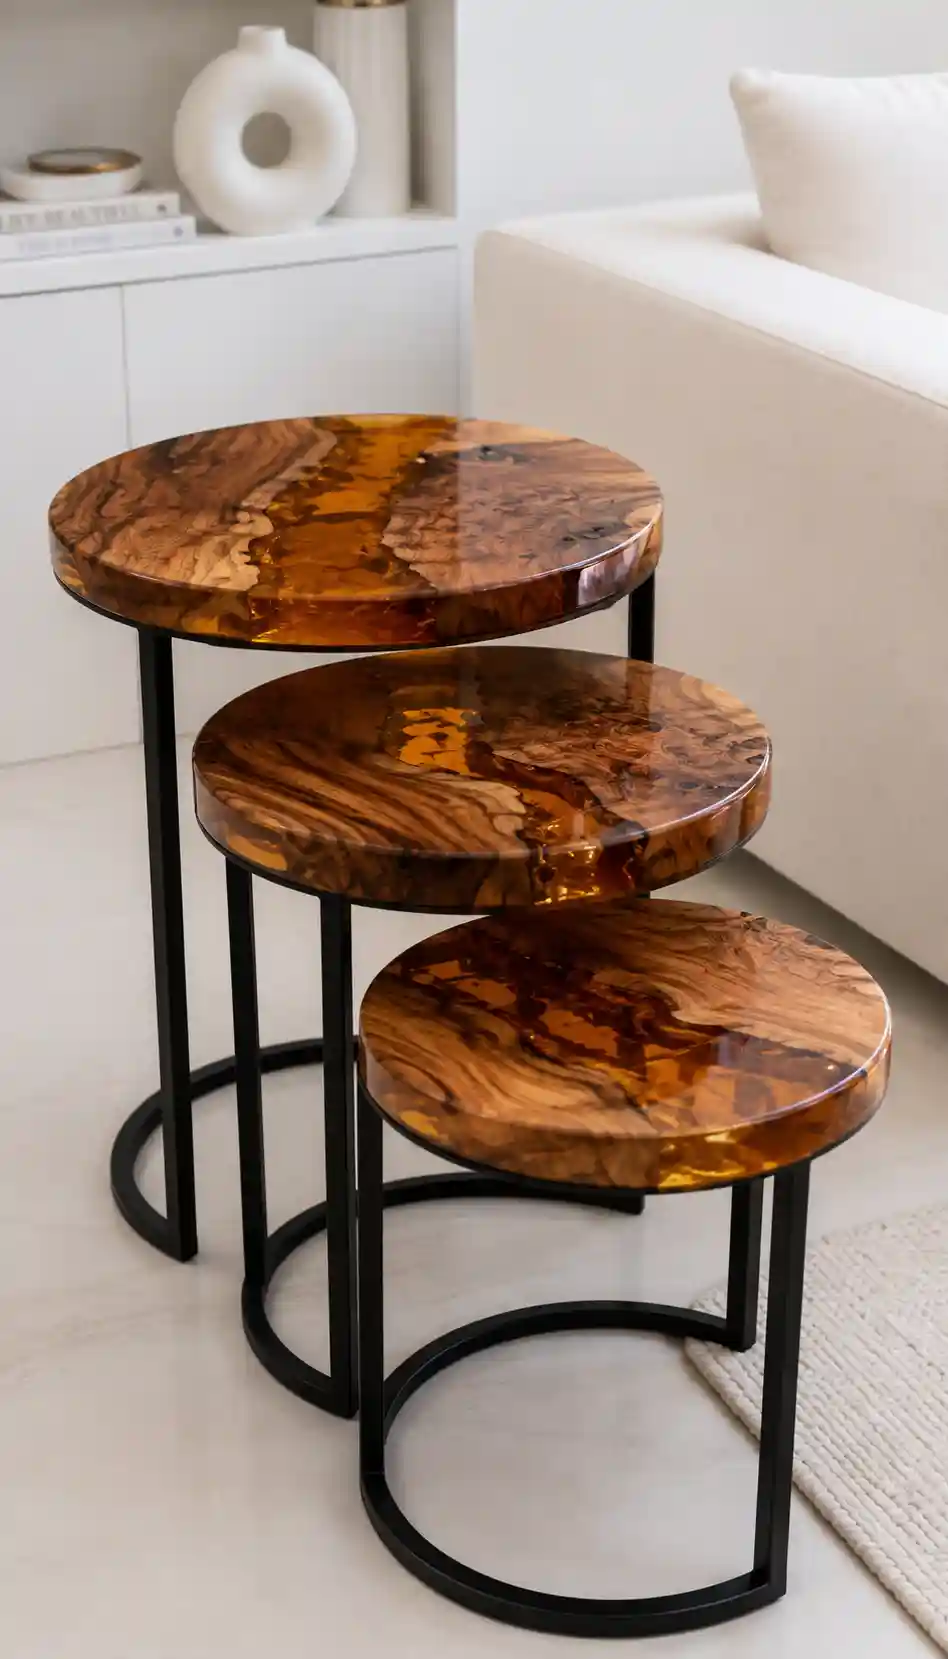
Small rooms suit small pours. A round side table with resin filling a crack or knot hole needs only a few hundred millilitres of resin and teaches the whole process at low cost, and the nesting-table photo above shows how a matching resin pattern ties a set together while each table tucks away. A narrow console table by the front door is another good candidate, since its slim top shows off a resin inlay without dominating the space. Measure the gap first: a table that cannot be walked around comfortably is too big, however good the resin looks. A resin inlay also works on a hallway bench or a bedside table, both of which need even less resin than a side table.
How do you get the look on a budget?
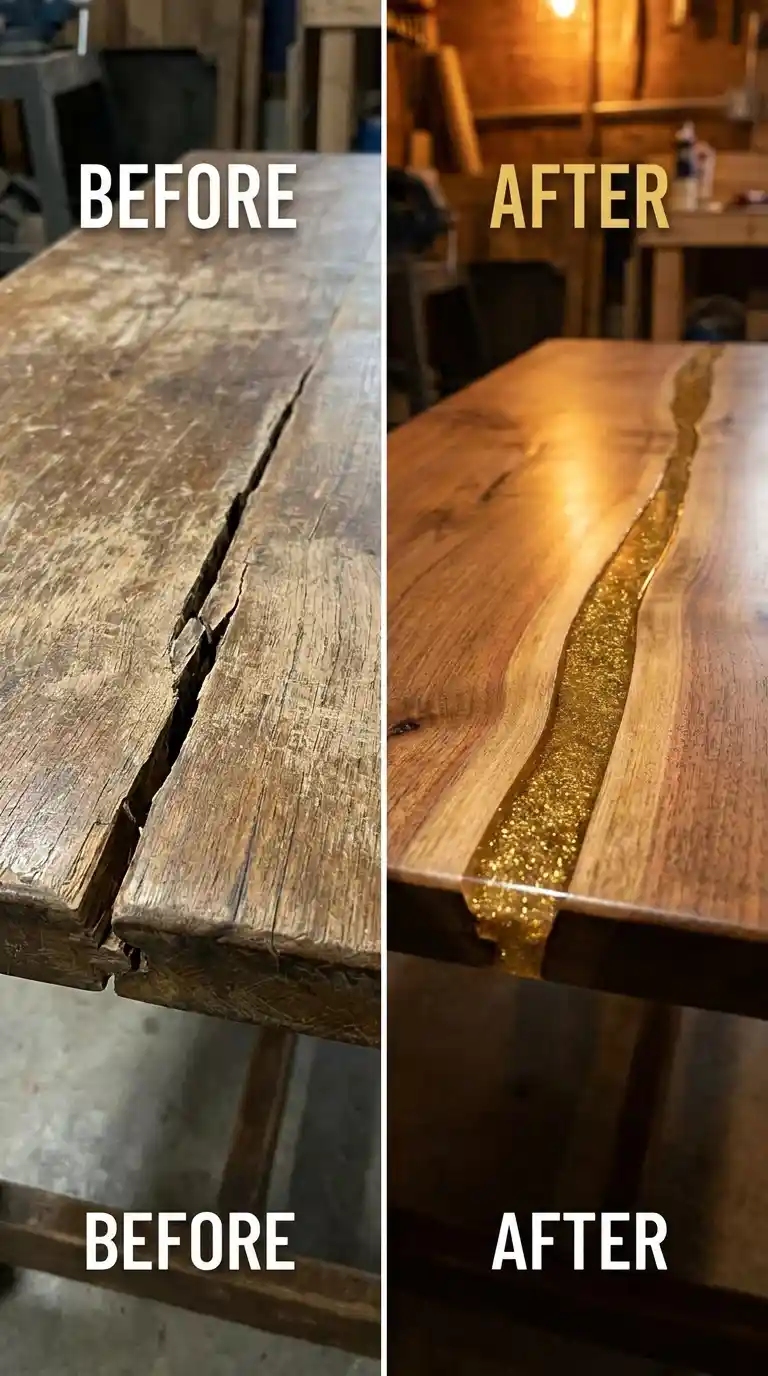
Epoxy is not cheap, but a small project keeps the cost down. Filling cracks in an existing table — the gold-filled table pictured above is a good example — uses little resin and turns a damaged piece into a feature, and beginner kits sized for side tables include measured resin, hardener and pigment for roughly £150 to £300. Thrifted tables are ideal starting points, since a scratched top can be sanded back and coated rather than replaced. Price the resin by volume before committing: a river section 200 centimetres long and 20 centimetres wide can need several litres, which is where budgets usually break.
How do you choose colour and pigment?
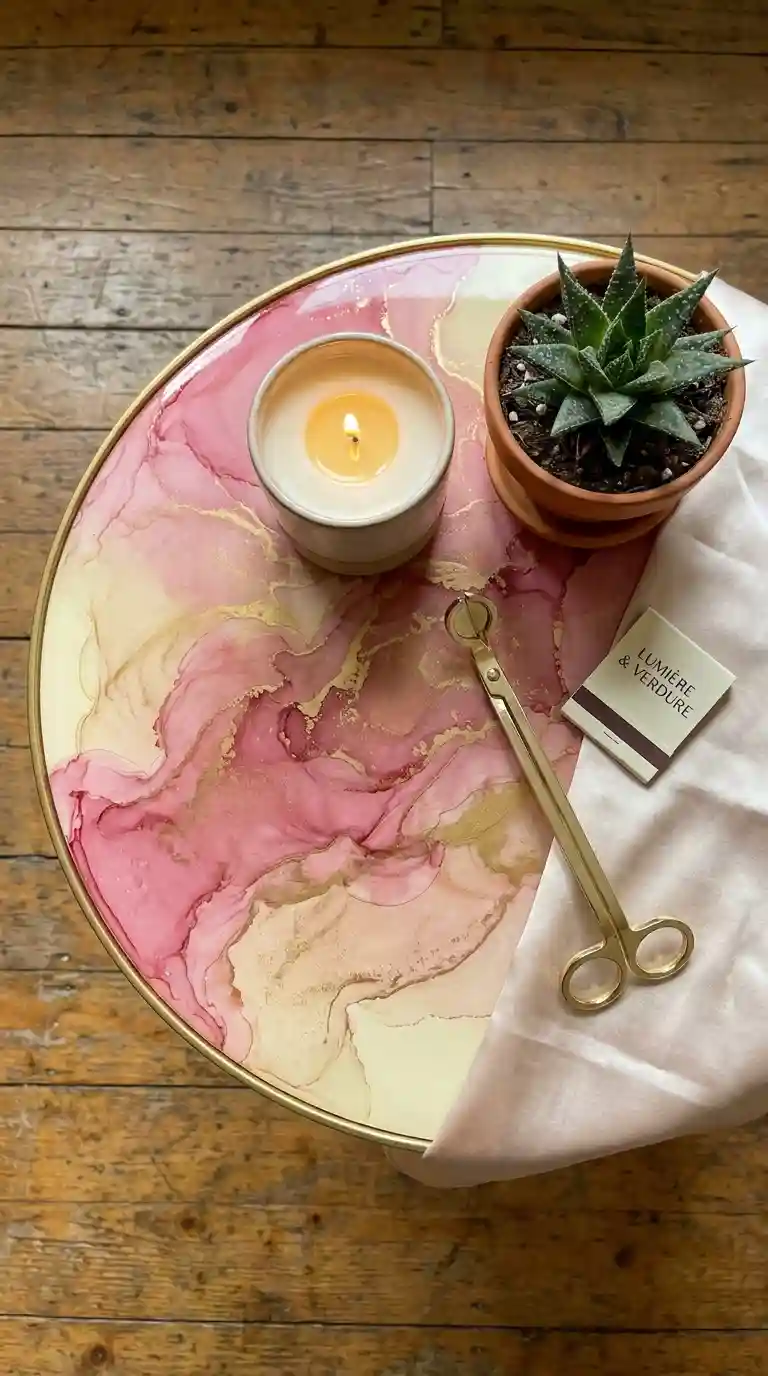
Colour is where most projects succeed or fail. Metallic powders mixed into resin give a liquid-metal shimmer in copper, gold or pearl, and the marbled table pictured above shows how alcohol ink dropped into lightly tinted resin creates a softer, organic pattern. Glow-in-the-dark powder is a novelty best kept to small accents, since a whole glowing top tires quickly. Choose the pigment with the room in mind: a deep blue or green river suits most living rooms, while very bright or multi-colour pours date faster. Test every pigment on an offcut first, because resin darkens slightly as it cures.
What does the DIY process actually involve?
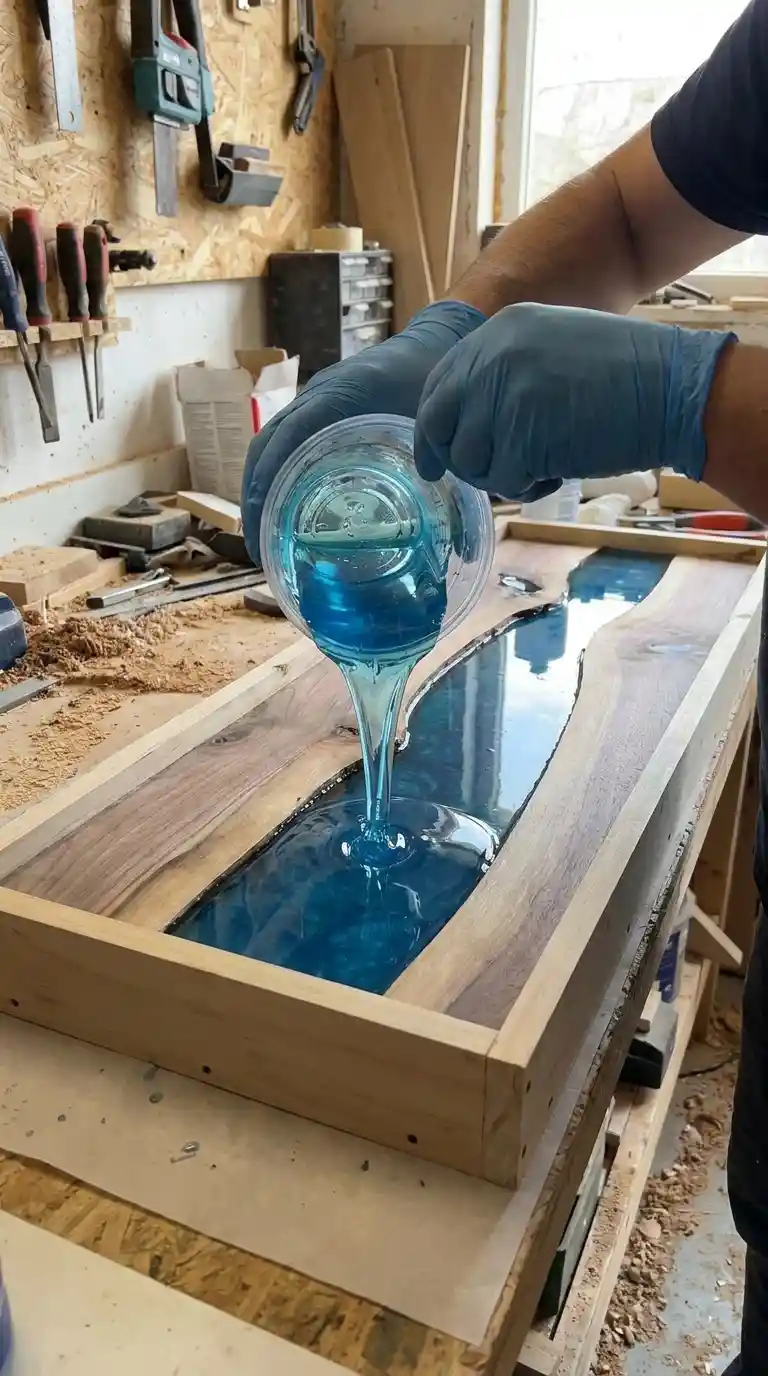
The process has five stages, and the resin type decides the first one. Table-top epoxy is thin and self-levelling, for coatings a few millimetres thick; deep-pour epoxy is formulated for thick fills and must be poured in layers of around 25 to 50 millimetres to control heat build-up, as the pouring photo below shows. Wood must be fully dry — a moisture content below 12 per cent is the usual guide — and sealed before pouring, or trapped air becomes bubbles. Mix ratios exactly as the maker states, since too much hardener causes overheating and too little leaves soft spots; a heat gun passed lightly over the surface removes surface bubbles. Expect three to seven days for a full cure, and judge a brand on clarity, UV resistance, low odour and working time rather than price alone. The common failures are all avoidable: dust in the workshop, temperatures outside roughly 21 to 29 degrees Celsius, and moving the piece before it has cured. For a full build plan, see these DIY kitchen table ideas.
How do you look after a finished epoxy table?
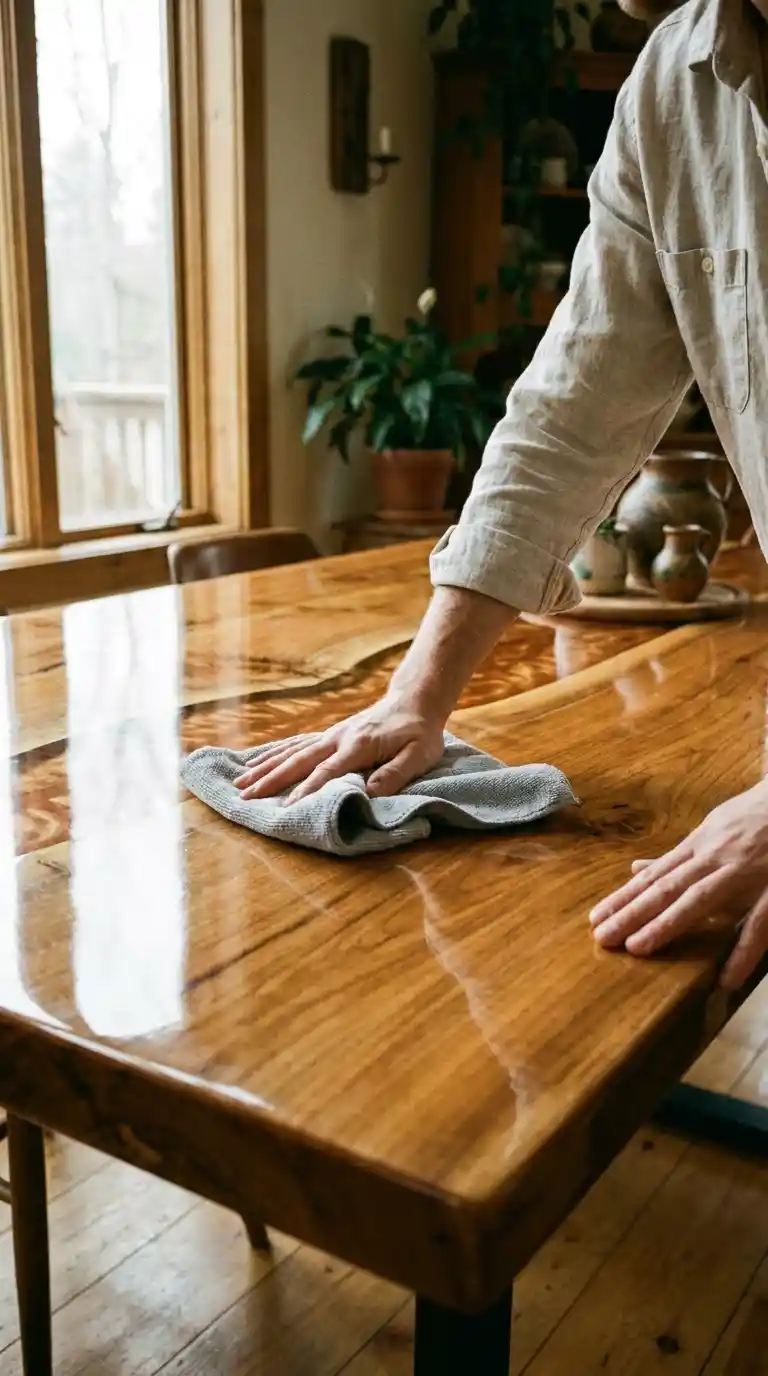
A cured top is durable but not indestructible. Clean it with a soft cloth and mild soap, avoiding abrasive pads and harsh chemicals, and use coasters and trivets, since prolonged direct heat can cloud the surface. Small scratches usually buff out with a fine polishing compound, while deeper ones need a light sanding and a fresh skim of resin, as the wiping photo above suggests. Outdoors, only UV-stable resin survives: standard epoxy yellows in sunlight, so a patio table needs a UV-resistant formula and, ideally, a covered spot. Keep the table out of constant direct sun indoors too, since even a bright window accelerates yellowing over time. For a table that sees daily meals, a fresh coat of hardwax oil once a year keeps the surface sealed, and felt pads under anything that stays put — a fruit bowl, a lamp base — stop the slow ring marks that appear over months.
Which trends are worth following — and which to skip?
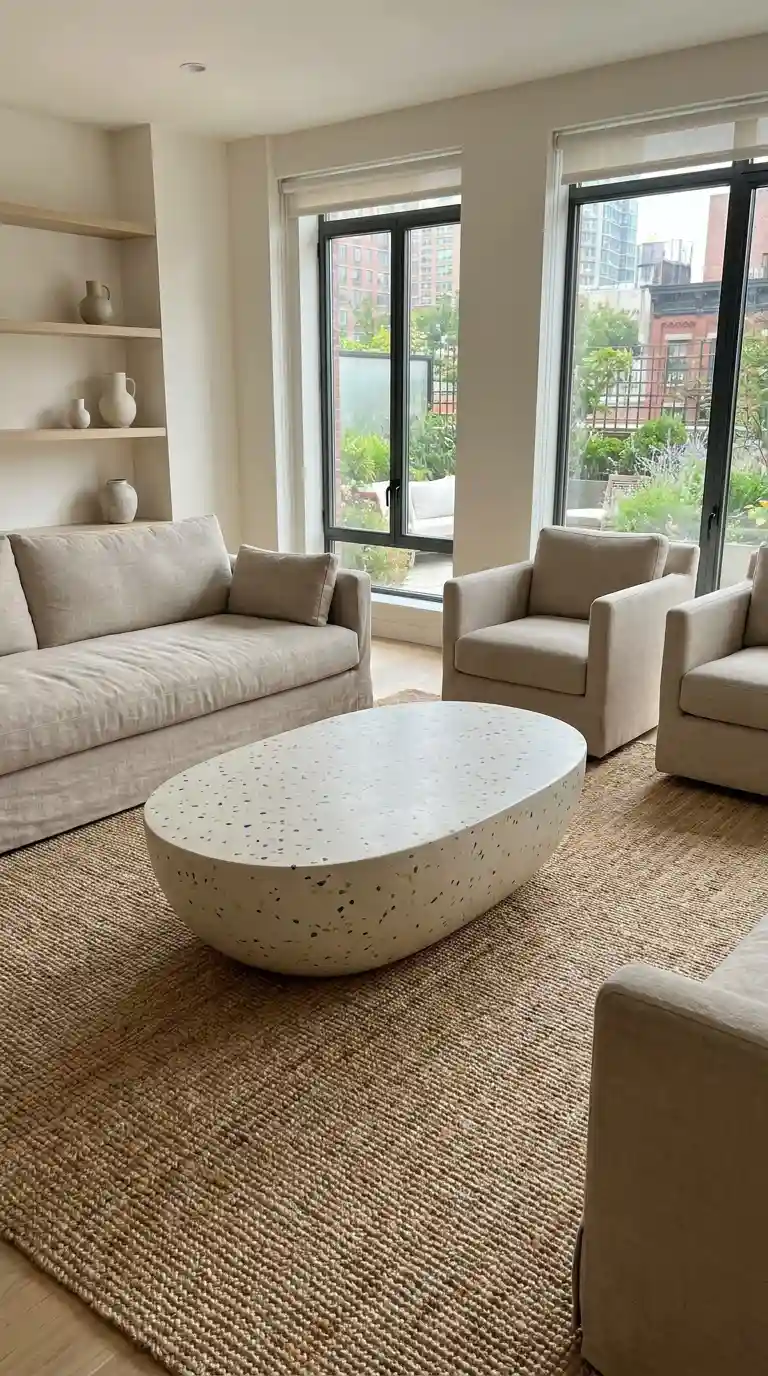
Terrazzo-inspired tables, mixing small chips of stone, glass or wood into the resin, are the most wearable current trend, and two-tone ombre rivers — two or three shades blending along the length — suit rooms that already have strong colour. Matte and satin finishes are gaining ground over high gloss, especially where fingerprints and glare matter, and the stone-chip coffee table pictured above shows the terrazzo look at its best. Personalised pieces, such as photographs or keepsakes embedded in clear resin, or a family-tree inlay under a clear topcoat, make sense when the object itself matters more than the trend. Whatever the style, start with realistic expectations: a well-made epoxy table is a long project, not a weekend impulse, and the best results come from patience with curing and finishing. If you are commissioning rather than building, ask the maker for a sample chip of the exact resin colour cured on your chosen wood, since a colour that looks right in a photograph can read very differently under your own lighting.
Frequently Asked Questions
How much does an epoxy table typically cost?
A small side table kit costs roughly £150 to £300, while a handmade river coffee table usually runs to £800 to £2,000 depending on size and wood. A large dining table can pass £3,000, and most of the cost is the wood and the volume of resin.
How long does epoxy resin take to fully cure on a table?
Most table-top epoxy feels dry within 24 to 72 hours, but a full cure takes three to seven days depending on the product and the room temperature. Deep pours cure more slowly, so avoid moving or loading the table until the maker’s stated cure time has passed.
Is epoxy resin toxic while working with it?
Uncured resin releases fumes, so work in a ventilated space and wear gloves and a respirator rated for organic vapours. Once fully cured, epoxy is inert and safe for everyday use, but never sand or heat it without protection.
What is the difference between table top epoxy and deep pour epoxy?
Table-top epoxy is thin and self-levelling, meant for coatings up to a few millimetres thick. Deep-pour epoxy is formulated for thick fills such as river sections, poured in layers of around 25 to 50 millimetres at a time to control heat.
Can beginners really make their own epoxy table at home?
Yes, if you start small. A crack repair or a small side table teaches mixing, pouring and finishing without the cost of a full slab. Read the product instructions carefully, measure ratios exactly, and practise on offcuts first.





4 Comments on “Epoxy Tables: River Resin, Real Costs and How to Choose One”