
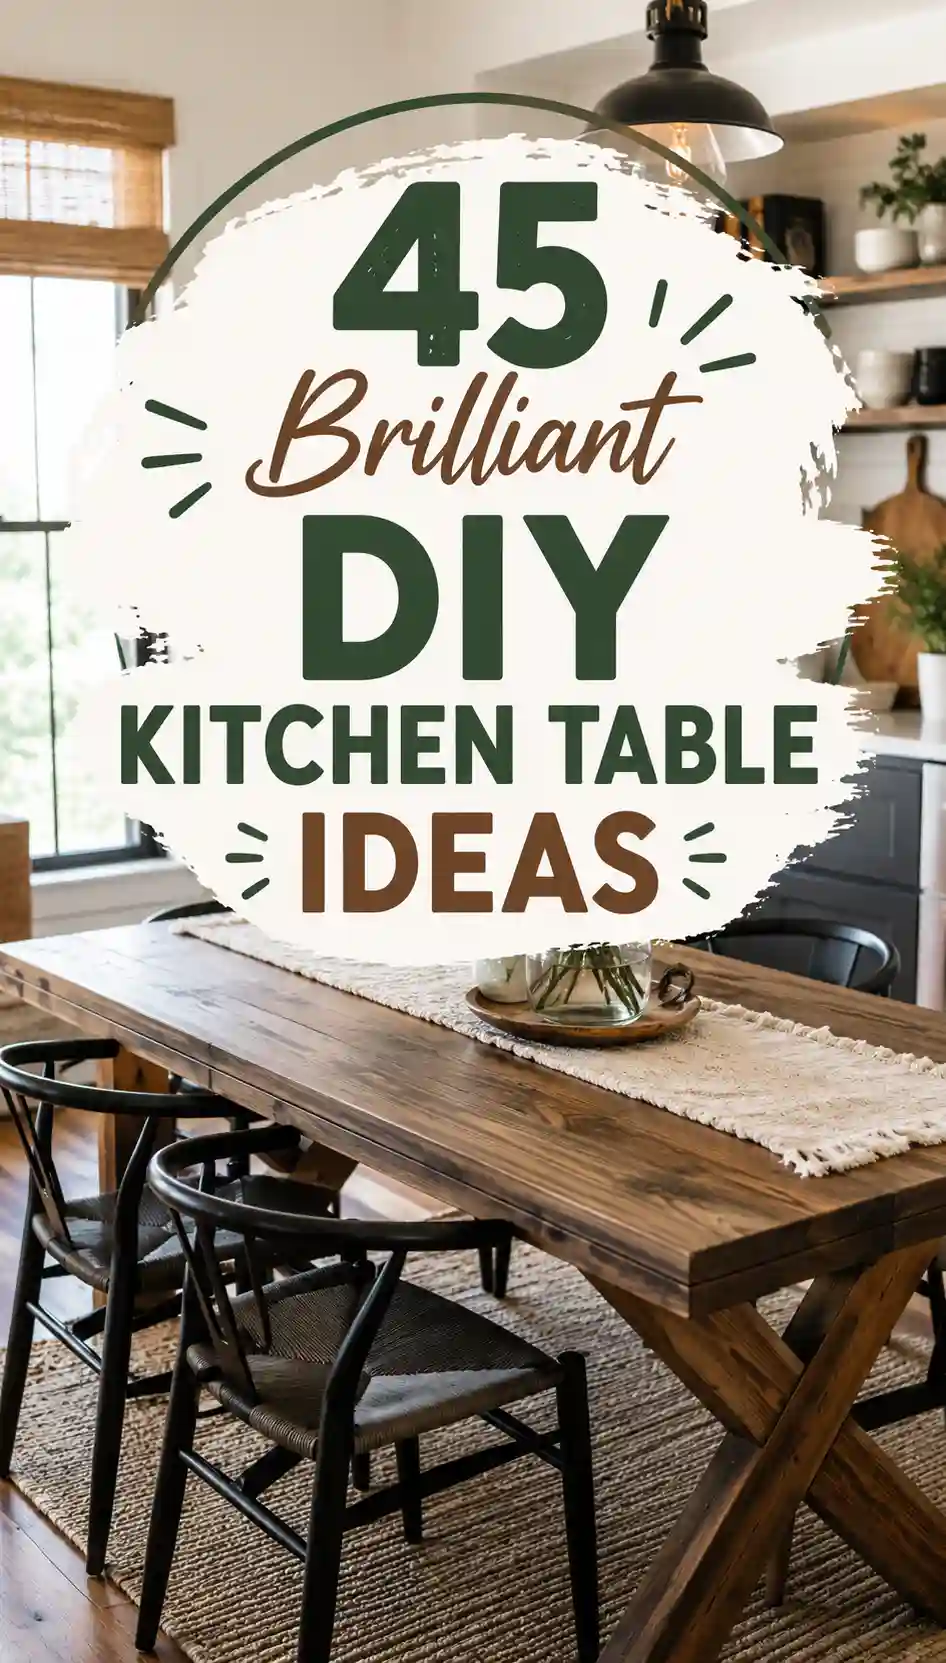
Before cutting a single board, settle three numbers: the size that fits, the height that works and the budget that will actually be spent. A standard dining table is about 75 centimetres high, a table for four needs roughly 120 by 75 centimetres, and a first pine build with bought legs can come in at £150 to £350, including finish. Allow at least 60 centimetres of elbow room per person and 90 centimetres behind each chair for pulling out, and the table will be usable every day rather than only on paper.
Plan the timeline honestly as well. A simple hairpin-leg build can be cut, joined and sanded in one weekend, but most finishes need 24 to 72 hours to cure before the table should carry hot plates or heavy use. That curing time is not wasted: it is when the finish hardens, so rushing it is the quickest way to a surface that marks in the first week. Measure the room, the doorway and the route the finished table must travel, because a table that cannot get into the kitchen is a problem no finish can fix.
What size table actually fits your kitchen?
Start with the room, not a catalogue size. Tape the outline of the proposed table on the floor, place the chairs, and walk the route to the cooker and the sink. If a chair cannot be pulled out without hitting a wall or an appliance, the table is too long or too wide for that spot, whatever the measurements say. For two people in a narrow kitchen, a 90 by 60 centimetre table or a wall-mounted drop-leaf that folds to 30 centimetres deep when not in use often works better than a full four-seater squeezed into the gap.
Round tables suit awkward corners because there are no corners to navigate, and a 90-centimetre round table seats four comfortably, while a 120-centimetre round table seats six. Rectangular tables, by contrast, use wall space more efficiently and are easier to extend with a leaf. The decision to make is practical: choose the shape that leaves the walkways clear, then choose the length that gives each person 60 centimetres, rather than buying the largest table the room can physically hold.
Which build suits a first-time maker?
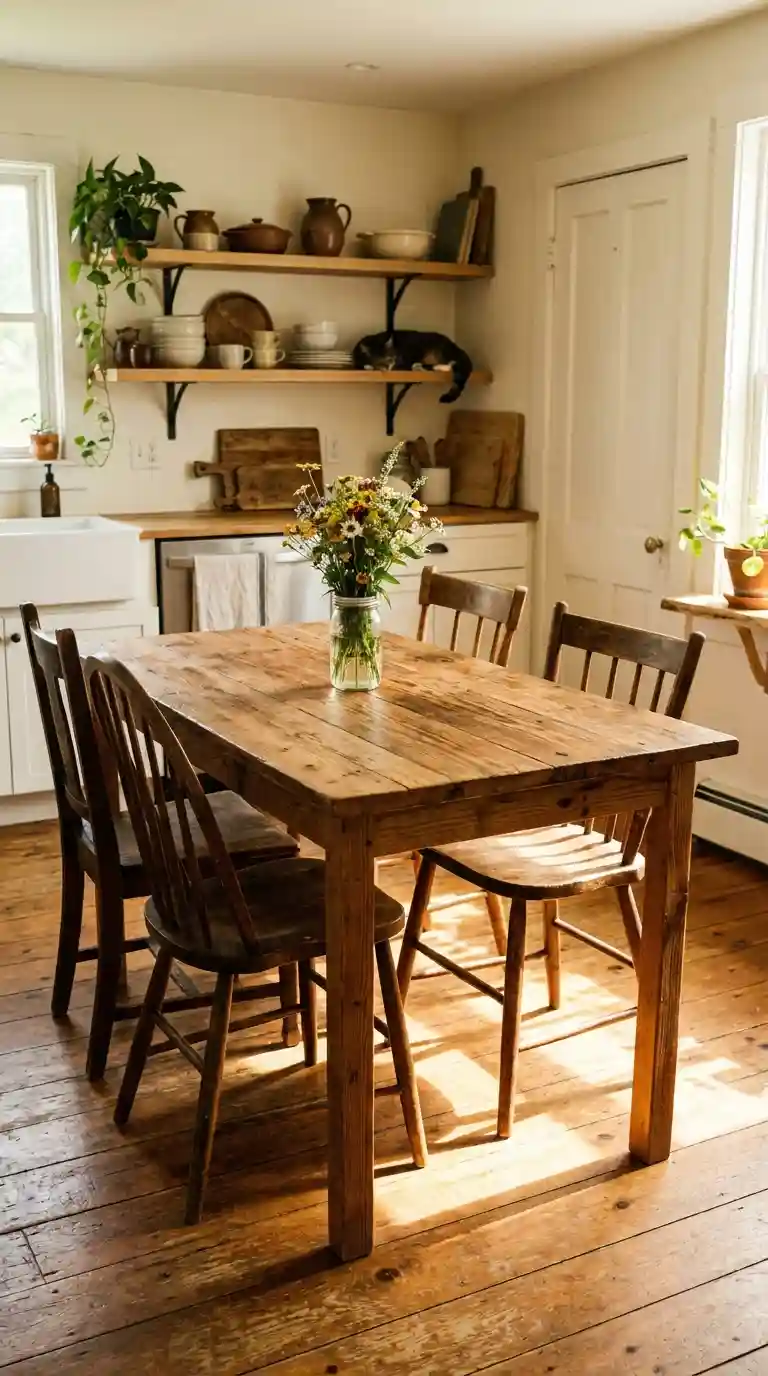
For a first build, a hairpin-leg table is the most forgiving option, as the photo above shows: a flat top, four bought legs bolted into mounting plates, and no complex joinery. It can be finished in a weekend, it is easy to level, and if a leg is damaged later it can be replaced without rebuilding the top. A farmhouse table with an apron and four turned legs looks more traditional, but it needs accurate cutting, pocket-hole or mortise joints, and a flat assembly surface, so it suits a second build better than a first.
A trestle base sits between the two: two solid end panels joined by a stretcher, giving good legroom and a strong, simple structure, but it needs careful measurement so the top does not overhang unevenly. In a very small kitchen, a drop-leaf or wall-mounted table is the smarter first project, because it solves the space problem directly. Ideas for small rented flats use the same logic, starting from the room’s limits rather than from a style photograph.
What should you spend, and where does it go?
For a £250 pine build, a workable split is about £100 on timber for the top, £70 on legs and hardware, £40 on finish and £40 on consumables such as glue, screws and sandpaper. Timber is the worst place to cut corners, because thin or warped boards will not flatten under clamps, while finish is the best place to spend a little more, because a durable topcoat protects every other pound spent. Reclaimed timber can lower the timber cost to almost nothing, but add time for denailing, sanding and checking for hidden metal.
Costs rise predictably with the next steps: hardwood such as oak or maple roughly doubles the timber bill compared with pine, a live-edge slab can cost as much as the whole pine build, and a poured concrete top needs mould materials and a much heavier base. Set a ceiling before buying, and if the timber quote pushes past it, shrink the table by 10 centimetres or switch from oak to pine rather than skipping the finish. A smaller, well-finished table is used daily; a larger, unfinished one is a project that never quite ends.
Which timber is worth the money?
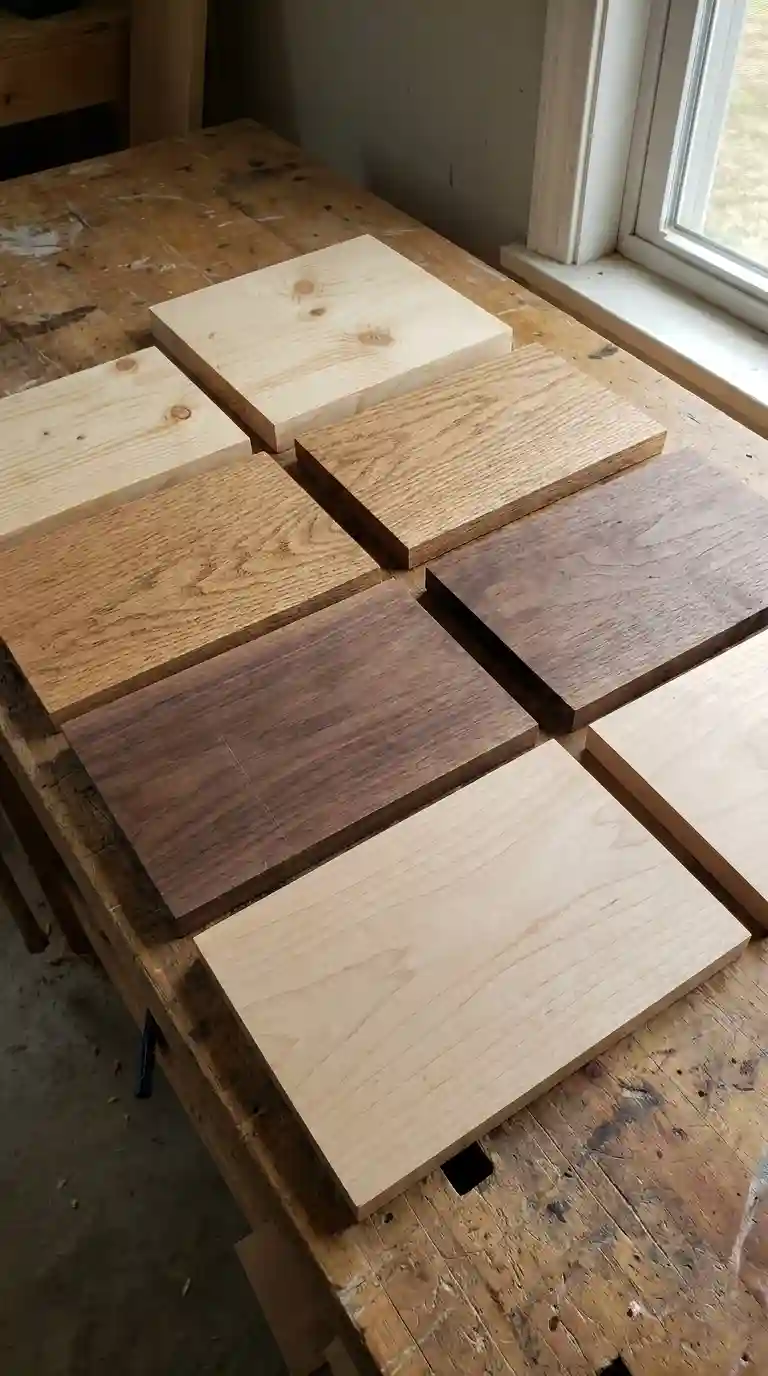
Pine is the sensible first choice, as the photo above suggests: it is affordable, widely available and easy to cut and sand, but it dents, so it suits a table that will be used with placemats and trivets rather than as a workbench. Oak is denser and harder wearing, with a pronounced grain that takes stain well, and it is a good step up for a table that will be used daily for years. Maple gives a smooth, pale surface for a modern kitchen, while walnut is rich and dark but expensive, and is best reserved for a top that will be the room’s main feature.
Reclaimed timber brings character, but it needs checking: only use pallet wood stamped HT, meaning heat-treated, never MB, meaning chemically treated, and run a magnet or metal detector over old boards before planing, because a hidden nail will damage a blade. Whatever the timber, buy boards at least 25 millimetres thick for the top, check each board for twist by sighting along its edge, and let the timber sit in the room for 48 hours before cutting, so it adjusts to the home’s humidity rather than moving after the table is built.
What tools do you really need?
The essential kit is short: a circular saw with a straight guide or a table saw, a drill and driver, a pocket-hole jig, at least four clamps, an orbital sander, a tape measure, a square and safety glasses, ear protection and a dust mask. A mitre saw speeds up crosscuts, a router adds rounded edges, and a planer flattens rough boards, but none of those is needed for a first hairpin-leg build, and hiring a planer for a day is cheaper than buying one for a single table.
Do not buy a full workshop before the first build. The decision that saves money is to buy the jig and clamps, which are used on every build, and to borrow or hire the large saw if needed. Safety is not optional: clamp the work before cutting, keep hands clear of the blade path, and sand with a mask in a ventilated space, because fine wood dust is an irritant even from soft pine.
How does the build go, step by step?
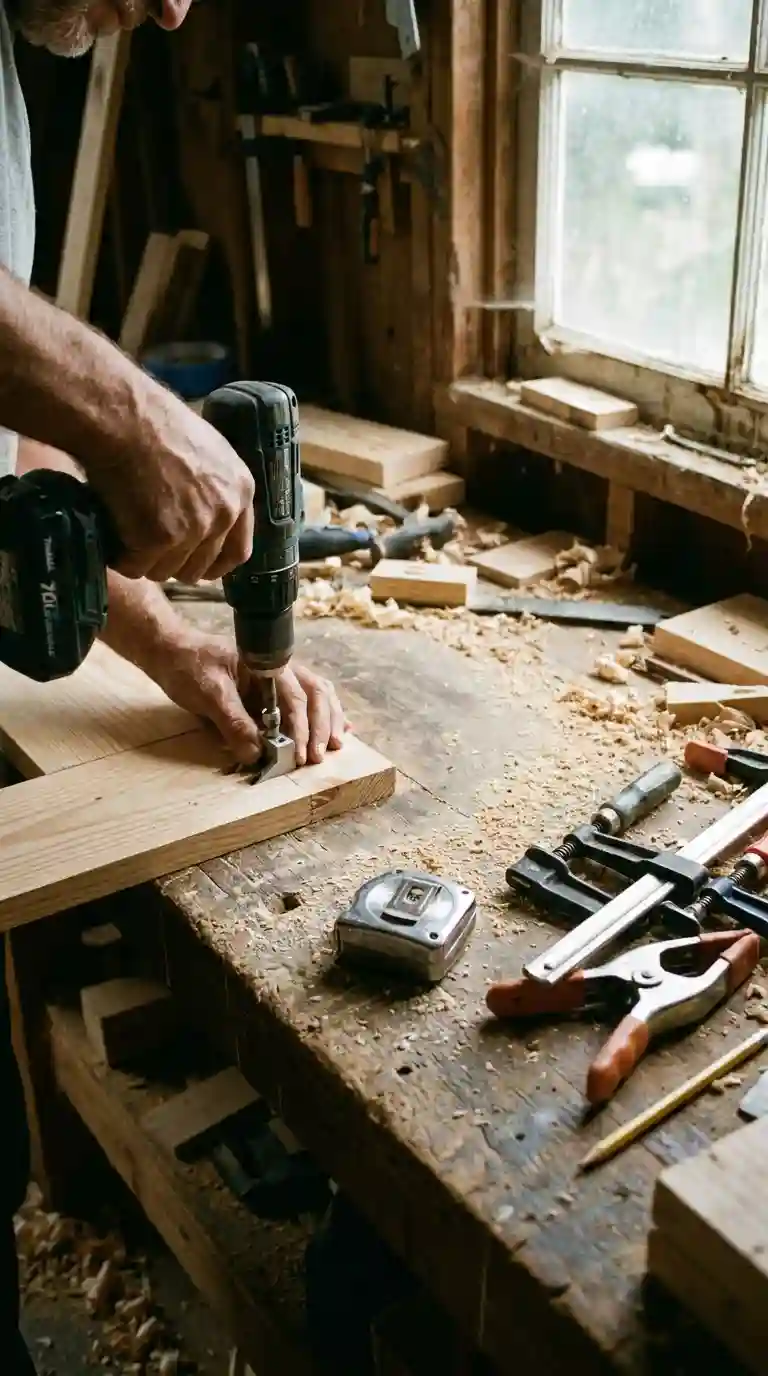
First, cut the top boards to length, allowing 2 millimetres of waste per cut for the saw blade, then lay them edge to edge, alternate the grain direction to reduce cupping, and glue and clamp them overnight. Next, add pocket-hole screws from underneath to reinforce the joints, attach the apron or the leg plates, and check the frame for square by measuring both diagonals: they should match within 3 millimetres. Then sand in stages, 80 grit, then 120, then 180, wiping dust away between stages, because skipping a grit leaves scratches that show through the finish.
Test the stain on an offcut from the same boards, not on a sample card, because the same stain looks different on pine, oak and maple. Apply the finish in thin coats, sand lightly with 220 grit between coats, and allow the full cure time before use. The photo above shows the order that matters: a flat, glued top first, a square frame second, and finish last. Reversing that order, by finishing boards before joining them, leaves unsealed joints that collect spills.
Which finish will survive daily meals?
For a table used for hot plates, drinks and homework, a satin polyurethane is the most forgiving choice: it forms a hard film, resists water rings and can be wiped clean, and a satin sheen hides scuffs better than gloss. Apply two to three thin coats, sanding lightly between coats, and use trivets under hot dishes even with polyurethane, because sustained heat can still mark the film. A food-safe oil, such as tung oil or a butcher-block conditioner, looks warmer and is easier to repair, because a worn patch can be sanded and re-oiled, but it needs reconditioning every six to twelve months and marks more easily from water.
Choose oil when the table is lightly used and easy maintenance is acceptable, and polyurethane when the table faces daily family use. Either way, round the corners with a router or sander before finishing: a 6-millimetre roundover reduces bruises, prevents the finish chipping at a sharp edge, and makes the table safer for children. Once the table is dressed, placemat ideas for dressing the finished table show how a simple layer protects the finish and changes the look without another build.
What mistakes make a table wobble or crack?
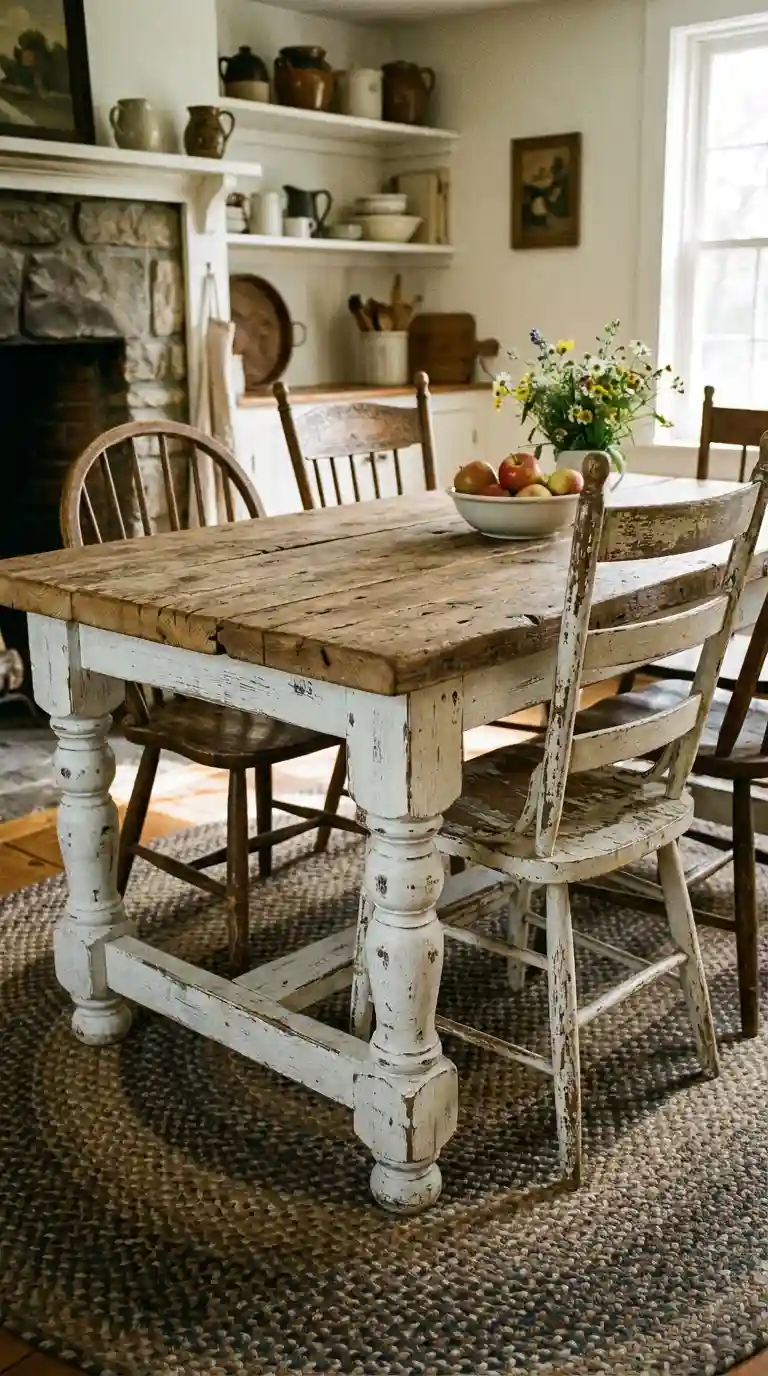
Three mistakes cause most failures. First, legs of different lengths or a frame that is not square: measure both diagonals, level the table on a flat floor, and use adjustable feet if the floor is uneven. Second, ignoring wood movement: solid wood expands across the grain with humidity, so the top must be fixed to the base with slotted holes or figure-eight fasteners that allow movement, not with screws driven tight through the top. A top screwed down hard will crack or bow when the seasons change.
Third, rushing the glue-up: boards clamped for less than the glue manufacturer’s recommended time, often at least 30 minutes clamped and 24 hours before machining, will open at the joints. The photo above shows a farmhouse style that survives because its base is square, its top is thick enough to stay flat, and its finish is even. When the table will sit in a dining room rather than a kitchen, bold dining room styling is a useful check for how a heavier, darker table changes the whole room, before committing to a dark stain.
Questions worth asking before you cut anything
What is the easiest kitchen table to build first? A hairpin-leg table with a bought leg set and a flat pine or plywood top, because it needs no complex joinery, can be finished in a weekend, and a damaged leg can be replaced without rebuilding the top.
How tall and how large should a table for four be? About 75 centimetres high and 120 by 75 centimetres, allowing 60 centimetres per person and 90 centimetres behind each chair for pulling out.
What timber should a beginner choose? Pine for a first build, because it is affordable and easy to work, with oak as the next step for a harder-wearing table; walnut is best saved for a feature top because of its cost.
Can pallet wood be used safely? Only pallets stamped HT for heat-treated timber, never MB for chemically treated timber, and only after checking for nails and giving the boards a full sand and a food-safe finish.
How do I stop a table wobbling? Check that all legs are the same length, that the frame diagonals match within 3 millimetres, and that the table is levelled on the floor where it will actually stand, using adjustable feet if the floor is uneven.





8 Comments on “Build Your Own Kitchen Table: Sizes, Timber and a Weekend Plan That Works”