
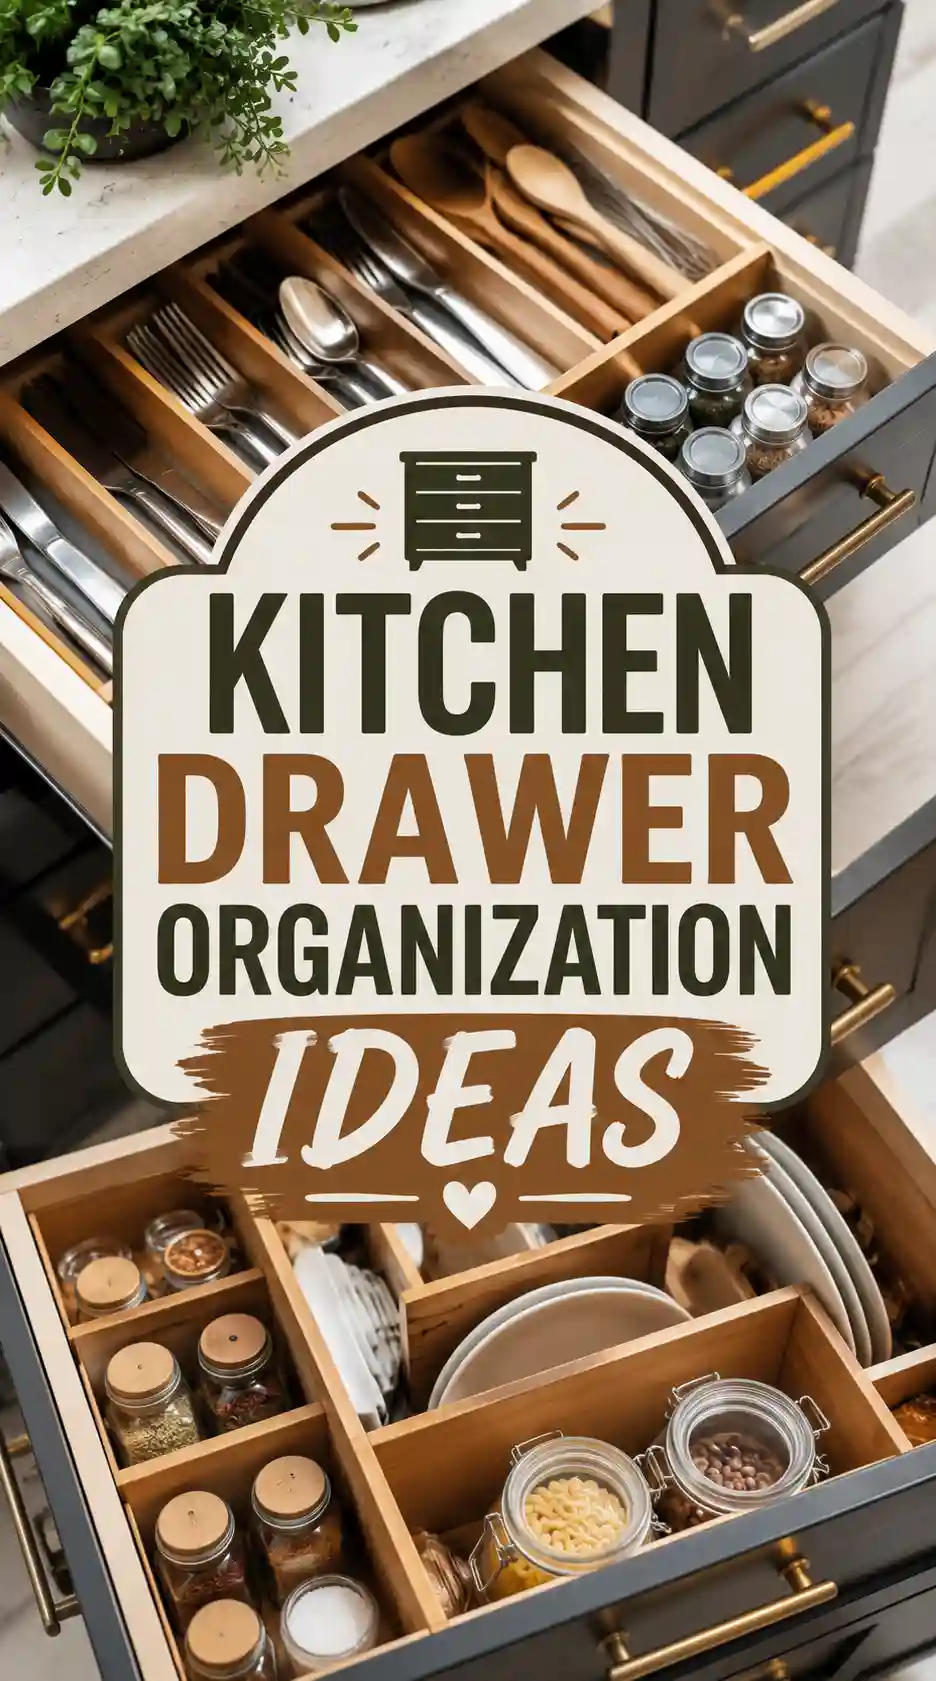
A drawer that will not close properly is rarely a storage problem alone. In most kitchens, the trouble starts with three numbers: the width, depth and height of the drawer, measured in centimetres, and the number of items that have to fit inside it. Get those wrong and even the best-looking organiser will slide, jam or leave a dead strip at the back. This guide works through one drawer at a time, in about 90 minutes for a typical three-drawer kitchen, with a budget of £30 to £60 for the utensil and junk drawers combined. It does not assume a remodel or a new kitchen. The decision that matters most is made before you buy anything: decide what lives in each drawer, then buy dividers to fit that list, not the other way round.
Why does one drawer always end up a mess?
Drawers fail for a simple reason: they hide their contents. A shelf shows you when it is full; a drawer can be shut on the same mess for months. If you open a drawer 10 to 15 times a day, even a 20-second search adds up to several minutes a day, and that is before you count the duplicate spatula bought because the first one could not be found. The photo below shows the kind of open, visible layout that prevents that drift: everything lies flat, nothing is stacked more than two items deep, and the front 10 centimetres are kept for the tools used every day.
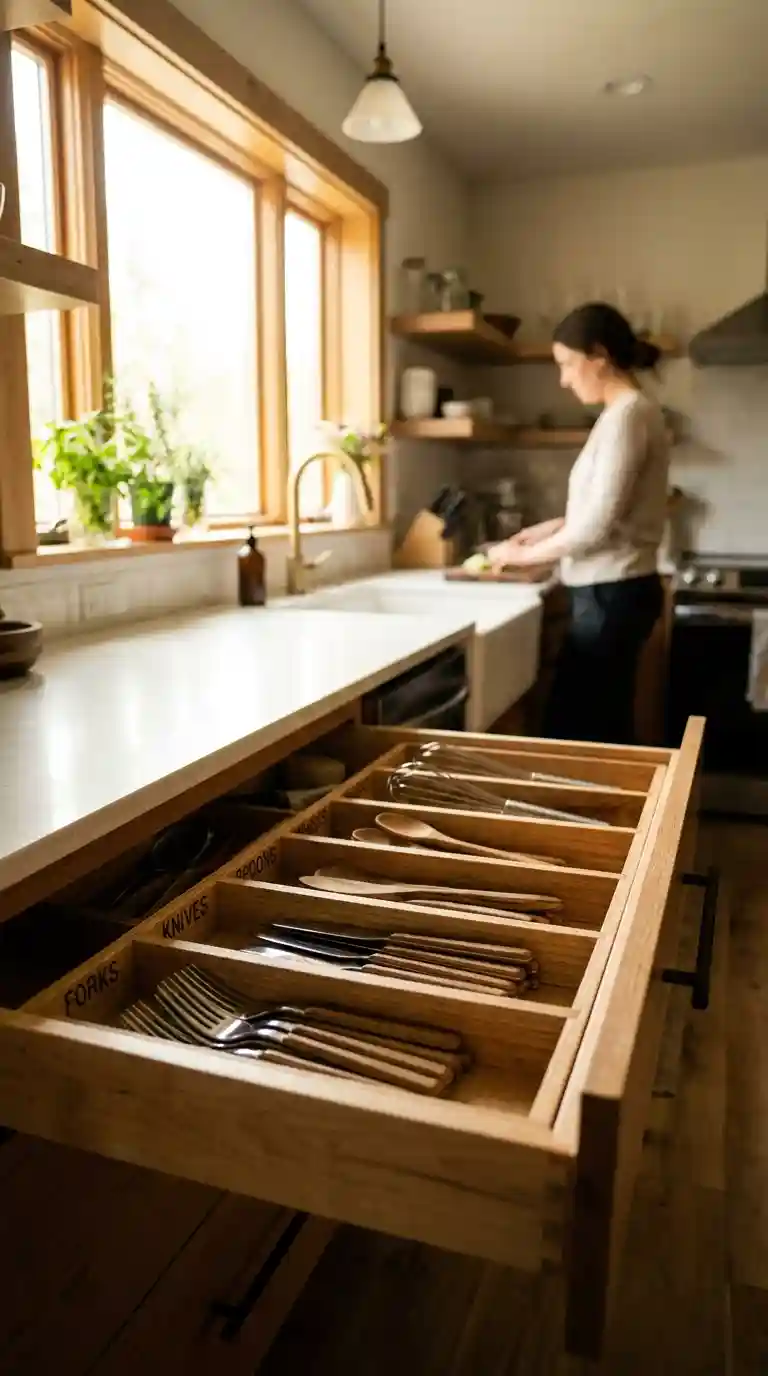
Start by emptying one drawer completely and sorting it into three groups: keep in this drawer, move elsewhere, and remove. A useful rule is that anything unused for six months does not earn a place in a prime drawer. Keep 12 to 15 everyday utensils at most; the rest can live in a second drawer, a crock or a box for occasional use.
What should you measure before you buy anything?
Measure the inside of the drawer, not the front panel. Record the internal width at the front and the back, because some drawers taper by 1 to 2 centimetres, the internal depth from front to back, and the usable height with the drawer closed. Allow at least 1 centimetre of clearance at the sides so a divider can be lifted out for cleaning, and check for any lip, screw head or runner that reduces the height. The photo below shows a tape measure stretched across an empty drawer, which is the only reliable way to check width before ordering an expandable tray.
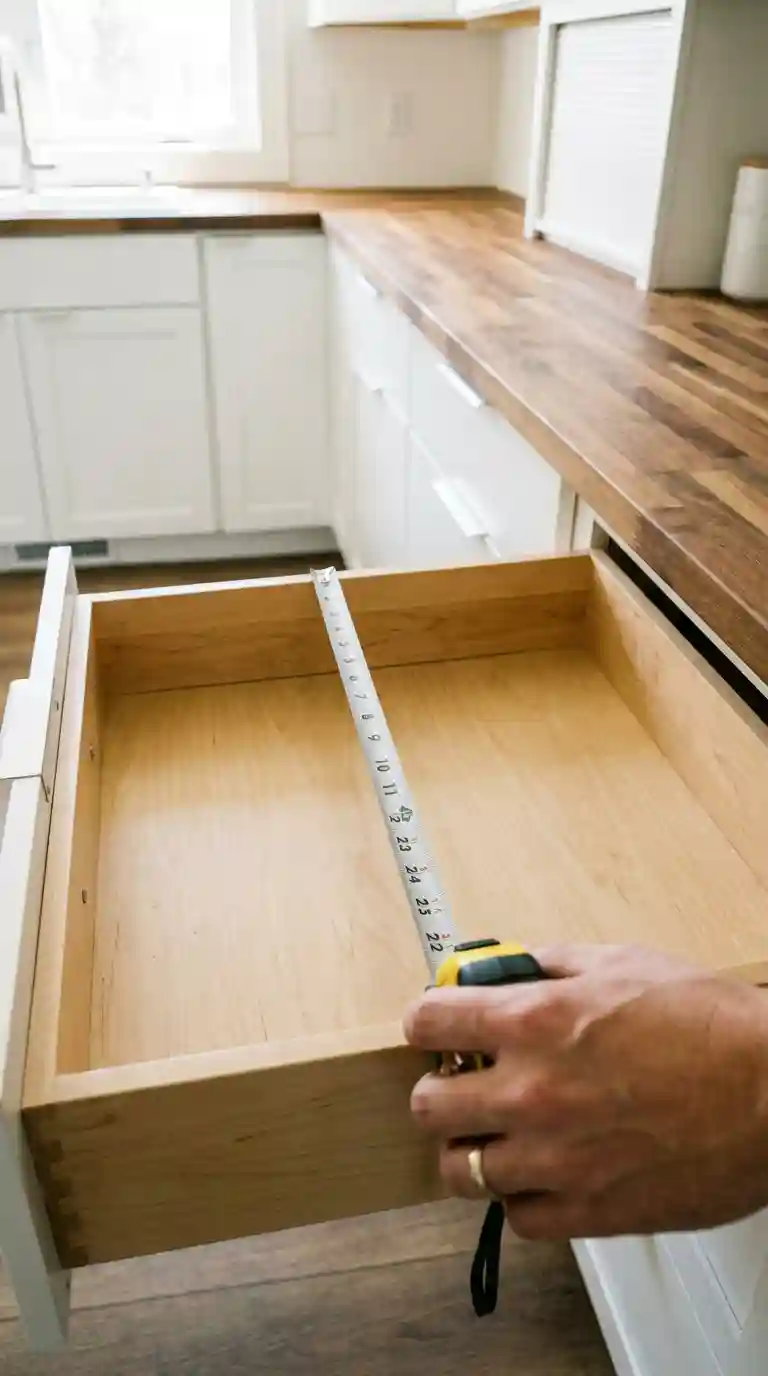
Write the three numbers on your phone before you shop, and take a photo of the empty drawer with the tape in place. Expandable dividers are a good choice when the width varies between drawers, but only if the expanded width still leaves that 1-centimetre clearance. A divider that fits exactly at the shop will often jam once crumbs or a warped base are added.
How do you set up the everyday utensil drawer?
Put this drawer nearest the cooker or the main preparation area, not nearest the sink, where wet items will sit. Use a tiered tray or a set of adjustable dividers to create four or five lanes: knives and sharp tools in one lane with blade guards, spatulas and tongs in a second, measuring tools in a third, and small items such as peelers and scissors in a fourth. Keep the total to one layer wherever possible; a second layer should only hold items used less than once a week.
Group by frequency, not only by type. The spatula you use five times a week belongs at the front, even if it does not match the other spatulas. If the drawer still will not close, the decision is not a bigger tray, it is a shorter list. Move serving utensils to a drawer used at mealtimes only, and consider whether the wider room needs rethinking, for example how two-tone kitchen cabinets can change where everyday items are stored.
What works in a deep drawer for pots and pans?
Deep drawers need vertical storage. Stacking three pans on top of each other means lifting two pans to reach the third, and lids end up in a separate pile. Use vertical dividers so pans stand on their sides like files, with at least 2 centimetres between each pan to avoid scratching. The photo below shows pans stored upright in a deep drawer, with the handles all facing the same way so a pan can be pulled out without disturbing the rest.
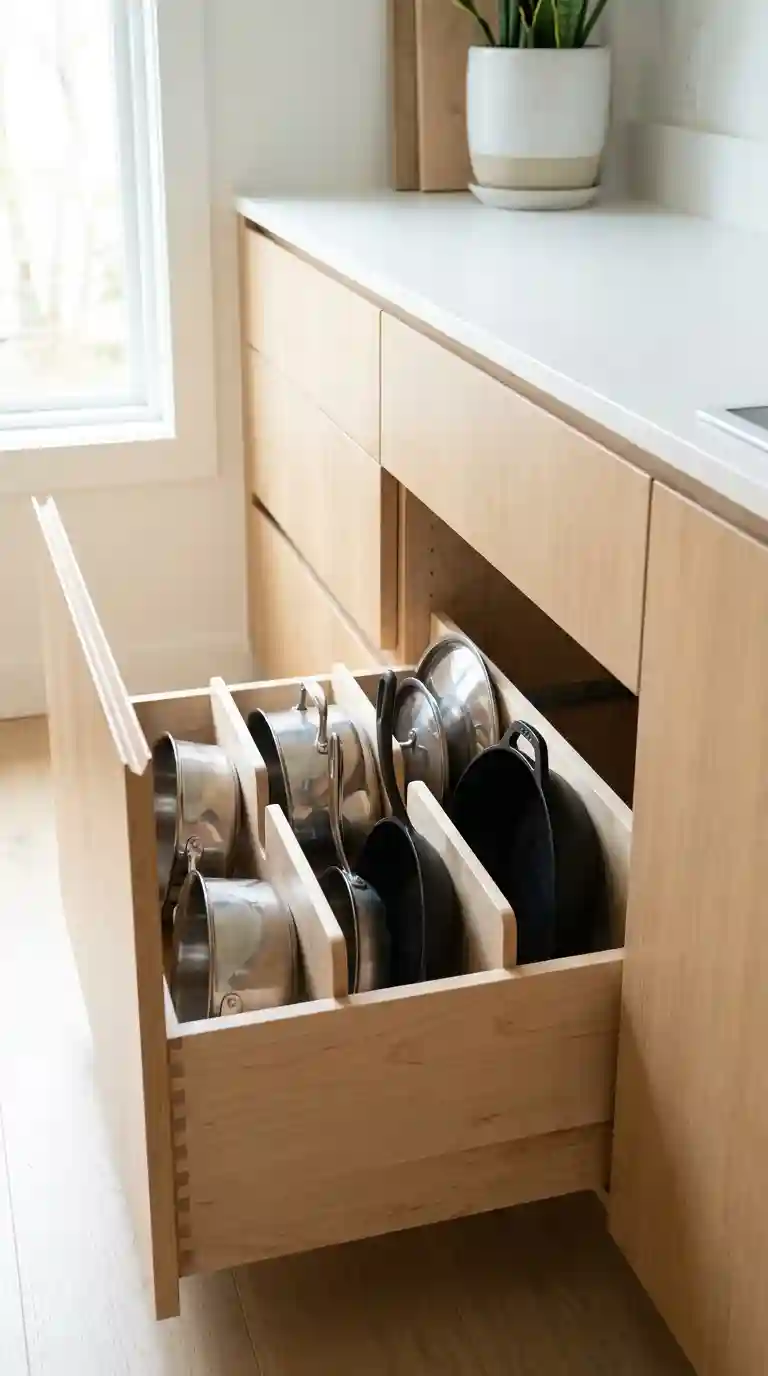
Give lids their own section, either a narrow vertical slot at the side or a separate shallow drawer. If a lid does not have a matching pan in the same drawer, move it with the pan or remove it. For bakeware, the same vertical slots work for sheet pans and chopping boards, provided the total height of the tallest board is at least 2 centimetres below the drawer opening.
How do you keep spices visible without decanting everything?
A spice drawer works best near the cooker, but only if the jars can be read at a glance. Use a tiered insert that angles jars at about 30 degrees so labels face upwards, and limit the drawer to 20 to 25 jars. Beyond that number, a second location is more practical than a larger insert. Label the lid as well as the side of the jar, and add the month it was opened; most ground spices lose their strength after 6 to 12 months, so a date is more useful than a matching set of jars.
Decanting is optional, not essential. It helps only when the original jars are different heights and keep tipping over. If you do decant, choose one jar size, keep the original label information, and do not buy a full set before testing three jars for a month. Alphabetical order helps only if you cook with more than 20 spices regularly; otherwise, group by use, such as everyday cooking, baking and heat.
What belongs in the junk drawer, and what does not?
Every kitchen needs one drawer for small, useful items, but it needs a limit. Use four to six small trays, each with a single purpose: batteries and torches, tape and scissors, pens and a notepad, keys and small tools, and charging cables. The photo below shows a drawer divided into small compartments, which is the difference between a useful catch-all and a box of unrelated objects.
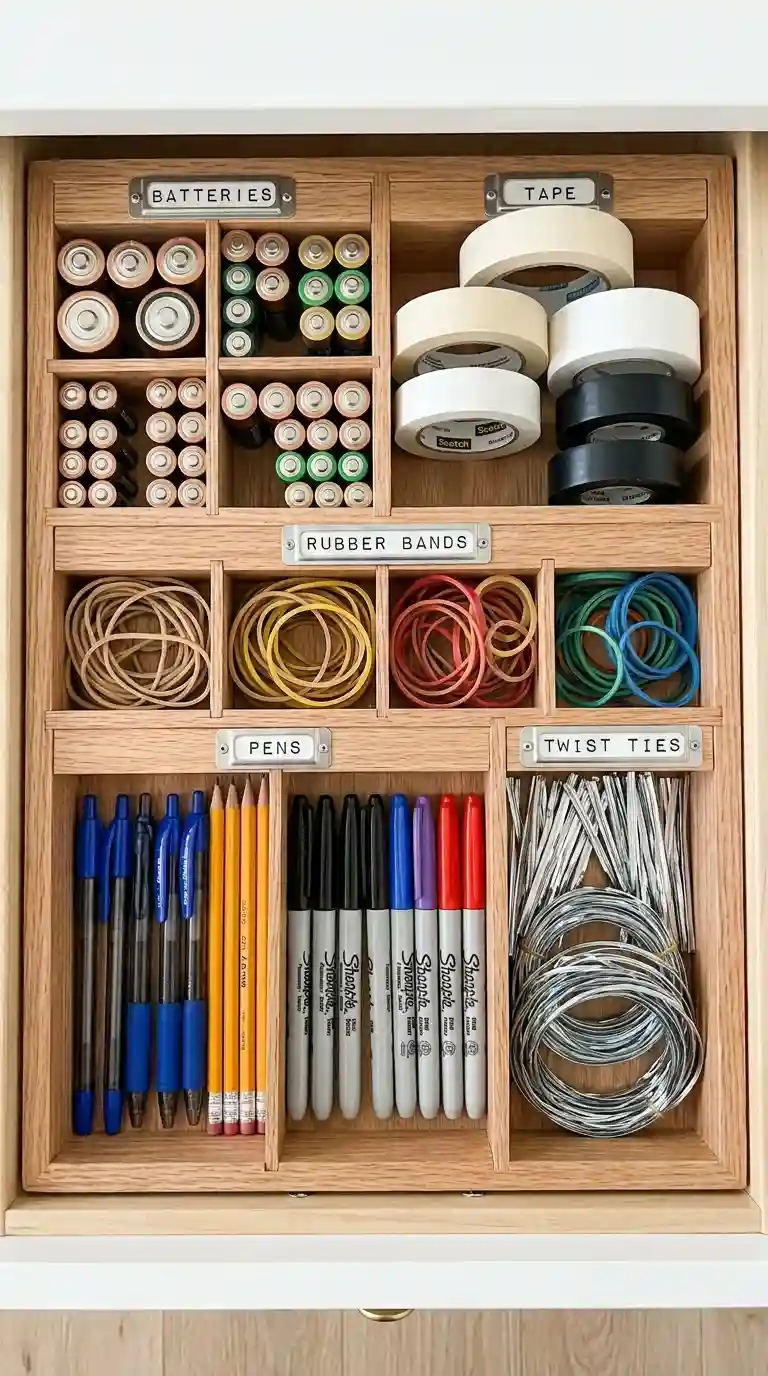
Keep sharp knives, medicines, important documents and anything that could leak out of this drawer. A knife in a junk drawer is a safety problem, and paper near batteries and tape will be damaged. Check the drawer every three months and remove anything that has not been used in that time. If a tray is empty, leave it empty for a month before deciding whether it earns a permanent place.
How do you group a drawer by the job it does?
Instead of grouping by item type, group by task. A coffee drawer under or beside the coffee maker can hold filters, pods, spoons and a cloth in one place. A preparation drawer near the main worktop can hold knives, a peeler, measuring cups and a small board. A snack drawer, if you have children in the house, works best at a lower height, with durable bins that can be wiped clean. The photo below shows a drawer set up around one task, which is why it stays tidy: everything in it is used at the same time, in the same place.

This approach also helps in a small kitchen. When drawer space is limited, ask what genuinely needs to be in a drawer and what could hang on a rail, sit on a shelf or live in a cupboard. A wall rail for frequently used utensils, for example, can free 30 to 40 per cent of a utensil drawer, which is often enough to avoid buying a second organiser.
How much should you spend, and what mistakes waste money?
For most kitchens, £30 to £60 covers one utensil tray, one set of dividers for a deep drawer and a set of small trays for the junk drawer. Spend the most on the drawer you open most often, and use repurposed jars, deli containers or sturdy boxes to test a layout for two weeks before buying a matching set. The photo below shows a low-cost set-up that works because the containers fit the drawer, not because they match each other.

The three mistakes that waste the most money are buying before decluttering, buying a full set for every drawer at once, and ignoring measurements. A second photo, below, shows the result of the first mistake: a drawer full of organisers with no clear system, where items are still stacked and hidden. If you are planning other low-cost changes in the same room, DIY kitchen table ideas can be a useful comparison for what a practical, matching project costs.

When is it worth getting help, and how do you keep it working?
Most drawer projects are doable in a weekend, but help is worth considering if you are reorganising a whole kitchen, if mobility makes emptying deep drawers difficult, or if you have tried two layouts and neither has lasted. A single consultation focused on measurements and a plan, rather than a full clear-out, is often enough. The photo below shows a finished drawer that is easy to maintain, because every item has a lane and nothing is hidden under another item.
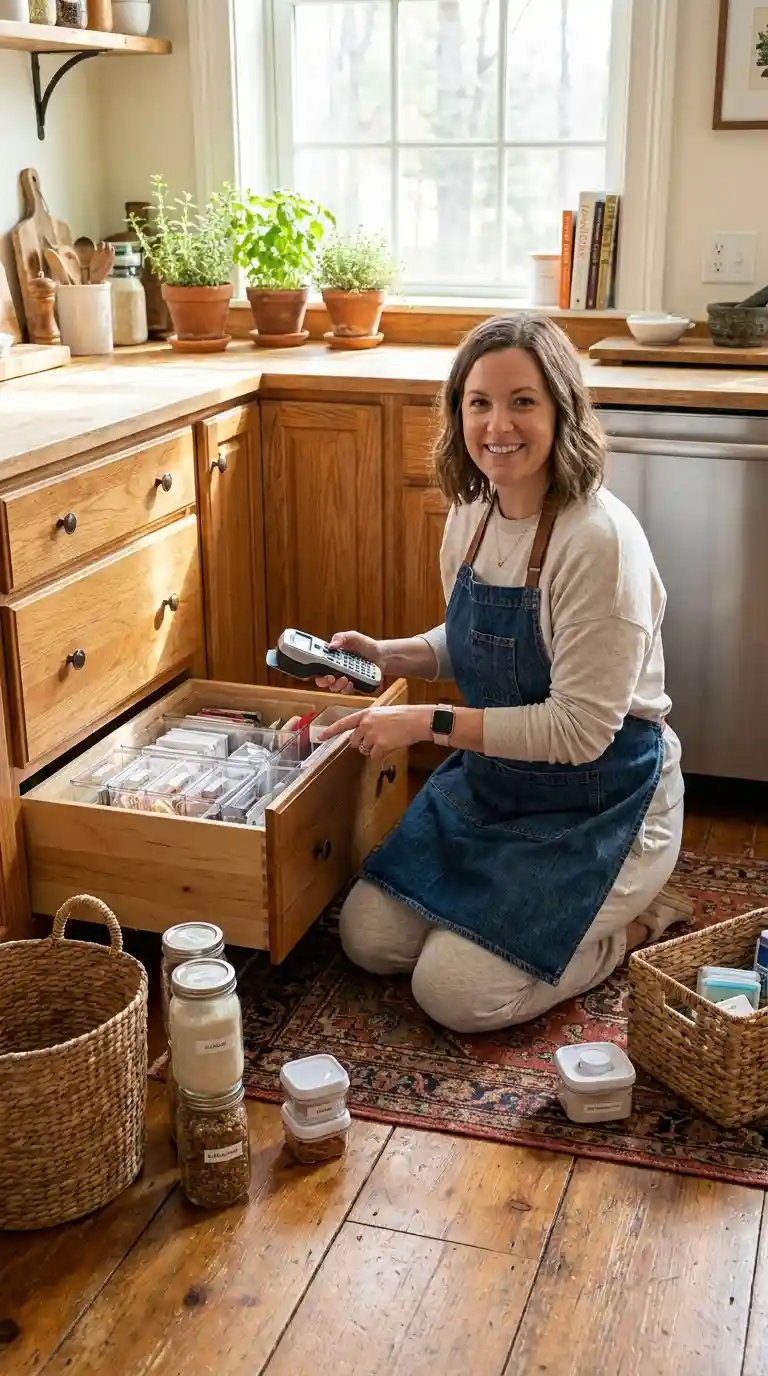
Maintenance is a five-minute reset once a week: return stray items, wipe crumbs, and check that dividers have not slid. Do a deeper review every three months, especially after a large shop or a change in household routine. If a system has not worked after a fair trial of four weeks, change one thing, such as the position of a divider or the drawer an item lives in, rather than buying a new set. For a warmer, less clinical look that takes pressure off drawers, farmhouse kitchen design ideas show how open shelving can hold everyday items instead.
Questions worth asking before you start
How do I measure a kitchen drawer for an organiser?
Measure the internal width at the front and back, the internal depth, and the usable height with the drawer closed. Allow at least 1 centimetre of clearance at the sides, and note any lip or runner that reduces height.
What is the best organiser for a deep pot drawer?
Vertical dividers that let pans stand on their sides work best, with lids in a separate narrow section. Leave at least 2 centimetres between pans so they can be removed without scratching.
Can I organise kitchen drawers without buying anything new?
Yes. Small jars, deli containers and sturdy boxes can be used to test a layout for two weeks before you buy anything. The test matters more than matching containers.
How often should I reset a kitchen drawer?
Do a five-minute reset once a week and a deeper review every three months. A drawer that is checked regularly stays usable for much longer than one that is only reorganised once a year.
What should not go in a kitchen junk drawer?
Keep sharp knives, medicines, important documents and anything that could leak out of the junk drawer. Those items need a safer, dedicated place.
Start with one drawer this weekend, measure it properly, and keep the list short. Open the drawer, find what you need in seconds, and close it without forcing it. That test, repeated for a month, is a better measure of success than how the drawer looks in a photograph.





5 Comments on “How to Organise Kitchen Drawers So You Can Actually Find Things”